
English
Appearance
This section covers the fundamental options to get the Dreame Vacuum Card up and running. It details how to connect the vacuum entity and customize core visual and interaction settings.

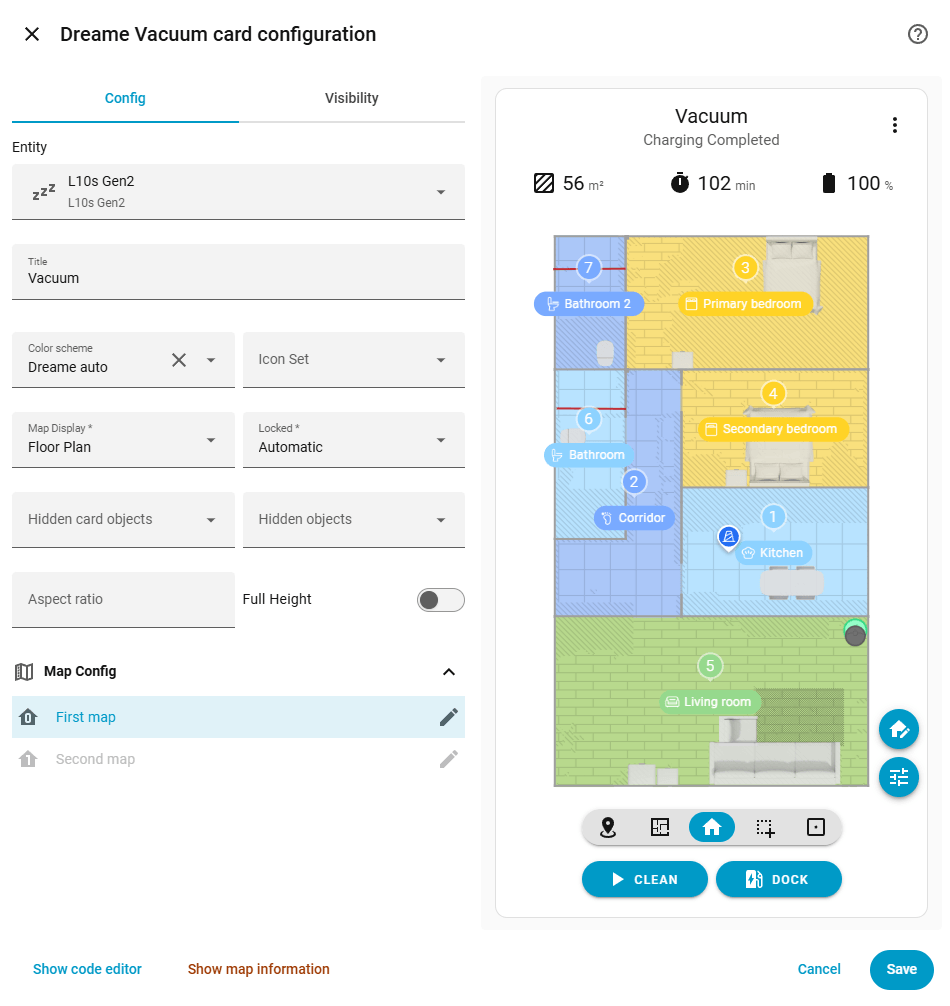
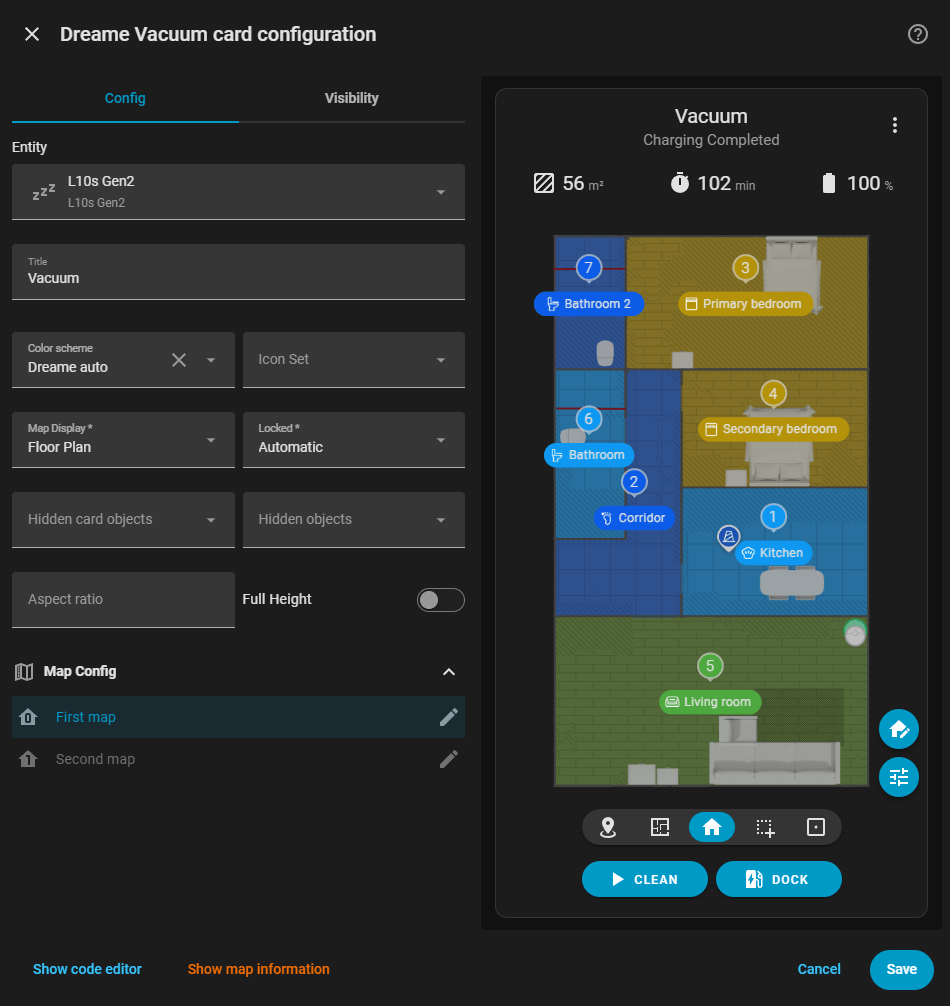
entity) The card only requires the entity parameter to function and no other configuration is needed. This defines the primary Home Assistant entity for the vacuum, which must belong to the dreame_vacuum integration such as vacuum.l10s_gen2. It will automatically detect the device's capabilities and based on this single parameter.
type: custom:dreame-vacuum-card
entity: vacuum.l10s_gen2These following parameters can be used to alter the visual styling and interaction modes of the map.
type: custom:dreame-vacuum-card
entity: vacuum.l10s_gen2
title: First Floor Vacuum
color_scheme: dreame_auto
icon_set: material
map_display: floor_plan
locked: only_touchtitle) An optional custom title for the top of the card. It defaults to the friendly name of the device from Home Assistant.
Hiding the Title
If desired, the card title can be completely disabled using the hidden_card_objects configuration parameter. When the title is hidden, the vacuum's current state will be displayed in its place at the top of the card.
color_scheme) Defines the color palette applied to various elements on the map, such as rooms, paths and walls.
Default Value
If this parameter is not provided in the configuration, it defaults to the color scheme selected in the integration settings.
dreame_light): Official Dreame app's theme.dreame_dark): Dark theme exclusive to dreame_vacuum integration.dreame_auto): Auto-switches between dreame_light and dreame_dark based on the system theme.mijia_light): Official Xiaomi Mi Home app's light theme.mijia_dark): Official Xiaomi Mi Home app's dark theme.mijia_auto): Auto-switches between mijia_light and mijia_dark based on the system theme.grayscale): A colorless, monochromatic map theme.Overriding Colors
If the predefined color schemes do not fit your needs, individual colors can be fully customized using the override_colors configuration parameter.
icon_set) Controls the aesthetic style of the icons displayed directly on the map surface, including the charger and room icons.
Default Value
If this parameter is not provided in the configuration, it defaults to the icon set selected in the integration settings.
dreame): Official Dreame app's icon set.dreame_old): Legacy Dreame app's icon set.mijia): Official Xiaomi Mi Home app's icon set.material): HA's built-in Material Design icons.Hiding Icons
If the available icon sets do not suit your visual preferences, the visibility of specific icons on the map can be completely turned off using the hidden_objects configuration parameter.
map_display) Controls the display style of the map, determining the visibility of the robot's scanned map, editable physical walls and floor textures.
Only available on supported devices
The Floor Plan display modes are strictly available for devices that support 3D Map Display v2 or higher in the official App. On older devices that do not support this feature, these specific configuration properties are disabled or has no effect since map data won't be containing any wall and door information to can be displayed.
For unsupported devices, it is highly recommended to use the background image configuration parameter to achieve a similar 2D or 3D floor plan visual effect.
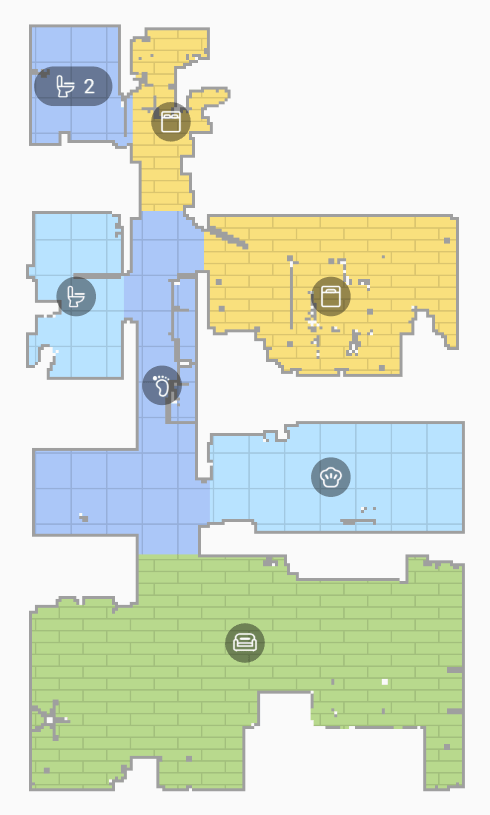
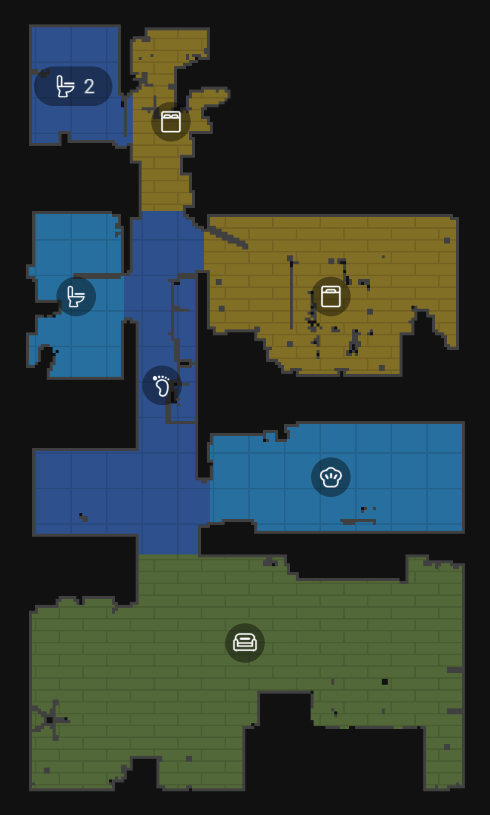
standard) Displays the exact map view as scanned by the robot.
floor_plan) Combines the robot's scanned map view with the display of editable physical walls.
floor_plan_without_texture) Identical to floor_plan, but hides the texture for unscanned areas inside the walls and displays the complete floor material of the room.
floor_plan_only) Identical to floor_plan_without_texture, but completely hides the scanned map view, displaying only the walls and the internal floor. This view is highly useful for cropping and centering the map automatically.

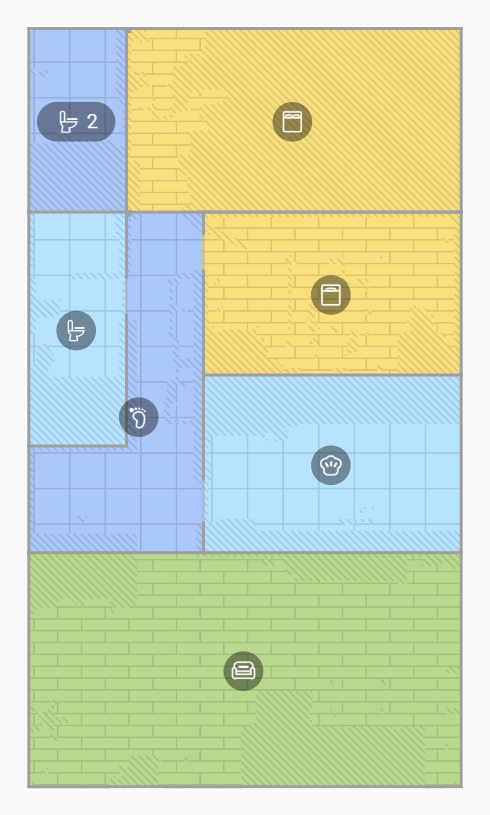
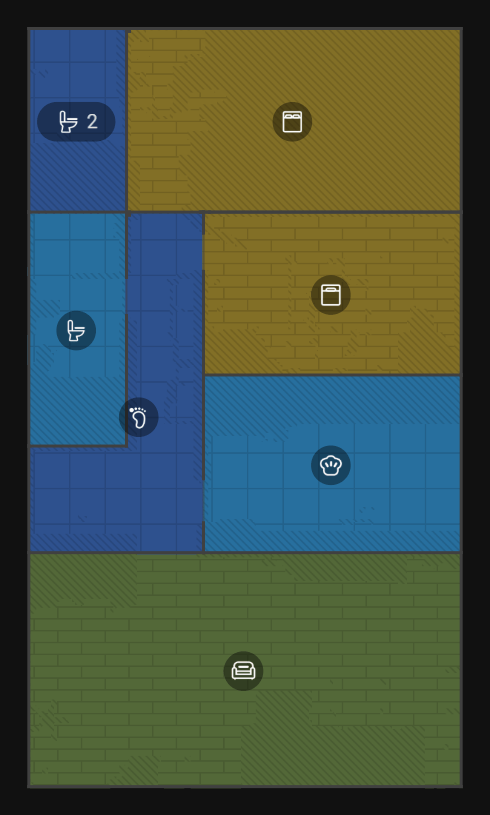
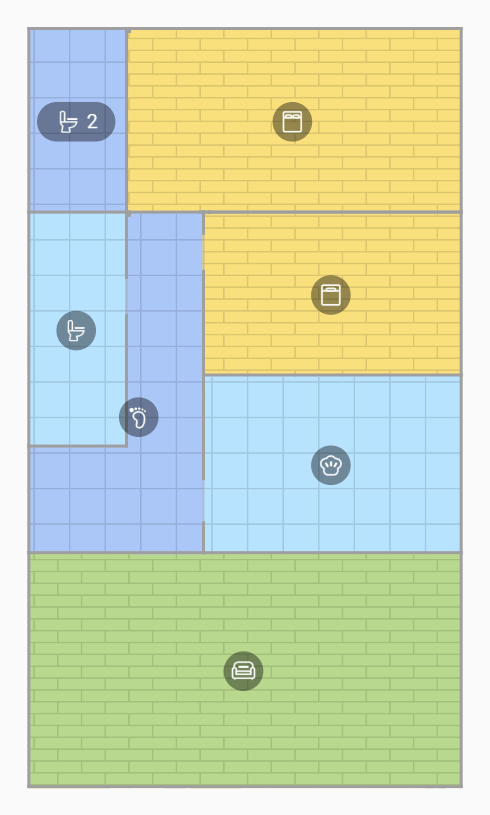
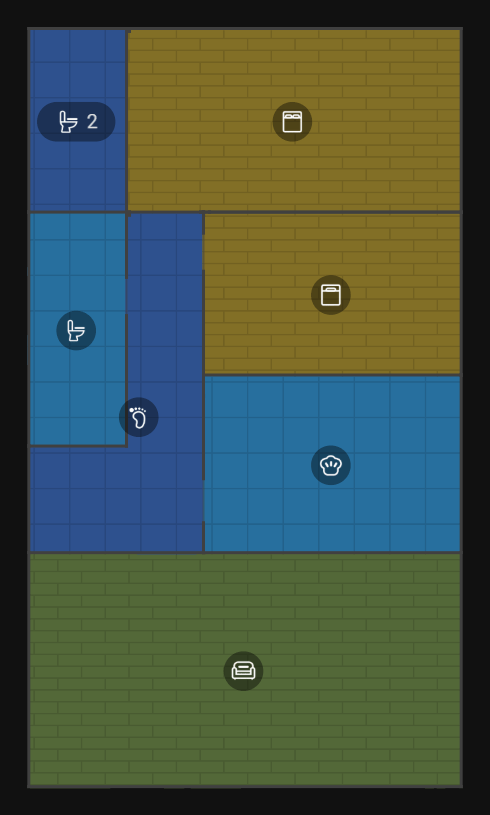
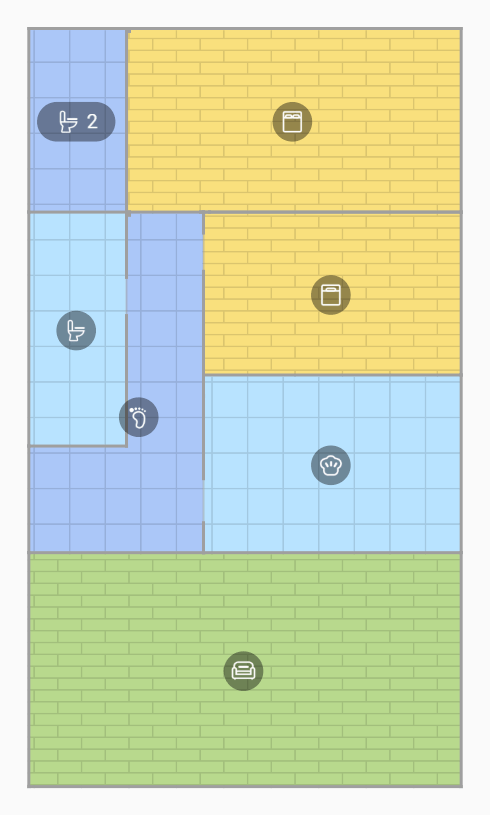
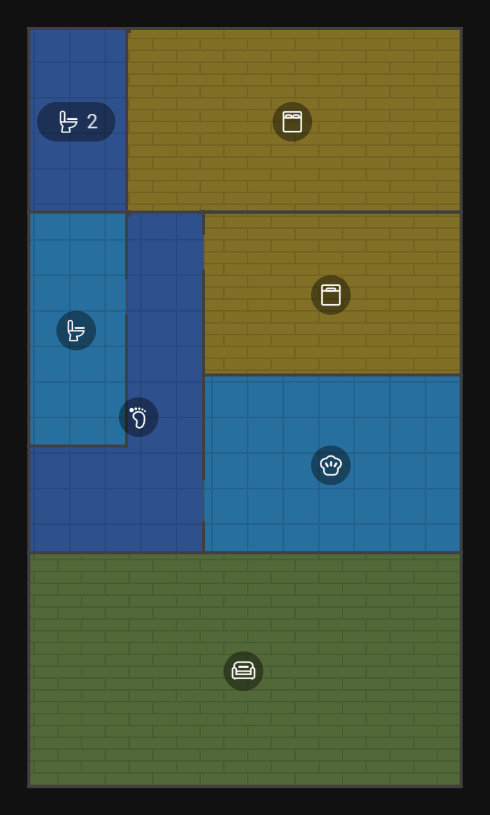
Editable Walls
The physical walls and boundaries displayed in Floor Plan modes are fully editable. For more details on how to adjust them, please refer to the Walls section under Map Management.
locked) This setting is used to lock the panning and zooming of the map inside the card. It prevents the map from panning and blocking the page scroll when scrolling the dashboard using touch or a mouse wheel. The initial value is auto. This mechanism can be configured according to the following options:
Map Reset and Locking
Whenever the map is not in its initial reset position, the card remains completely unlocked regardless of the defined lock mode. To lock the map again, a double-click or double-tap must be performed to return the map to its initial view.
Furthermore, regardless of the configured lock mode, the map can always be unlocked by double-clicking or double-tapping on a specific room to zoom in.
auto) The card detects whether it is located inside a scrollable control and dynamically locks the map accordingly.
touch_lock configuration setting. An immediate swipe will scroll the dashboard page, whereas holding briefly unlocks the map for panning and displays an indicator. Furthermore, performing a two-finger pan, a two-finger zoom, or a double-tap zoom will instantly unlock the map. Once unlocked through any of these touch methods, the map remains unlocked until the view is reset with a double-tap.only_touch) The map locks exclusively during single-touch panning while allowing unrestricted mouse wheel scrolling. A two-finger pan or zoom unlocks the map until the view is reset with a double-tap, making this mode recommended when frequent panning is not necessary.
never) The map is never locked and page scrolling is always blocked.
always) The map is force-locked everywhere. While manual zooming and panning are initially disabled, double-tap or double-click zooming remains available. Once zoomed in via a double-tap or double-click, the map becomes unlocked for panning until the view is reset with another double-tap or double-click.